Search
Close this search box.
Search
Close this search box.

Building Configuration

The Building Configuration section allows you to define the physical structure of your project, including buildings, areas, and rooms. This hierarchical organization helps you efficiently manage your KNX installations and provides a logical structure for the visualization interface.

Buildings Management #

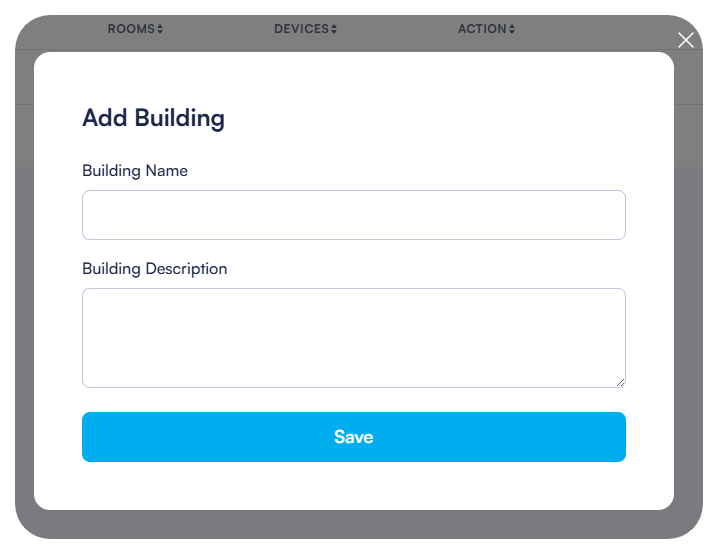
In ElauPro, each project can contain one or multiple buildings. By default, a building named “Home” is created when you start a new project, but you can add more buildings as needed.

Creating Buildings #

To create a new building:

  • Open your project and navigate to the Buildings section from the left menu.
  • Click the + Add Buildings button in the top-right corner of the screen.
  • Enter a name for the new building in the dialog box that appears.
  • Click Save to create the building.

Editing Building Details #

To edit an existing building:

  • In the Buildings list, locate the building you want to edit.
  • Click the edit icon (pencil) in the Actions column.
  • Update the building name as needed.
  • Click Save to apply your changes.


You can also delete a building by clicking the delete icon (trash) in the Actions column. Note that deleting a building will remove all associated areas, rooms, and device assignments within that building.

Areas and Floors Management #

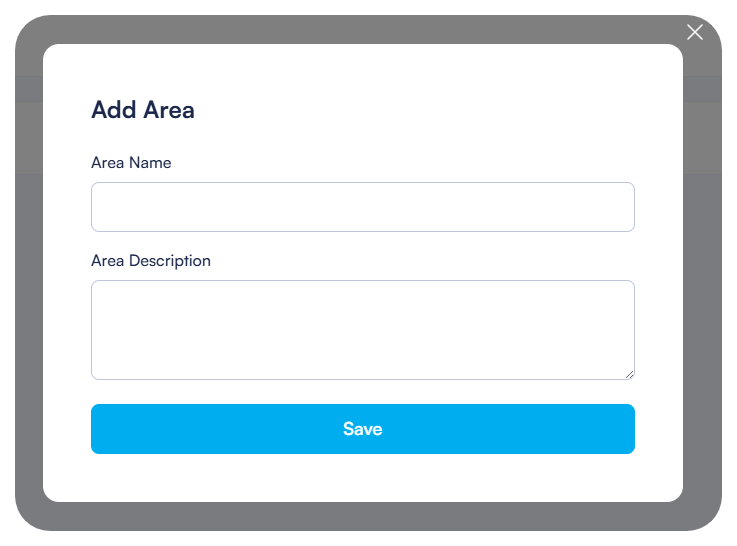
Areas typically represent floors or sections of a building. Organizing your project by areas helps maintain a clear structure, especially for larger installations.

Creating Areas #

To create a new area within a building:

  • Click on the building name in the Buildings list to access its details.
  • In the Areas section, click the + Add Area button.
  • Enter a name for the area (e.g., “Floor 1,” “Floor 2,” “Basement”).
  • Click Save to create the area.

Managing Area Properties #

To edit an existing area:

  • In the Areas list for a selected building, find the area you want to modify.
  • Click the edit icon (pencil) in the Actions column.
  • Update the area name as needed.
  • Click Save to apply your changes.


You can also delete an area by clicking the delete icon (trash) in the Actions column.

Room Management #

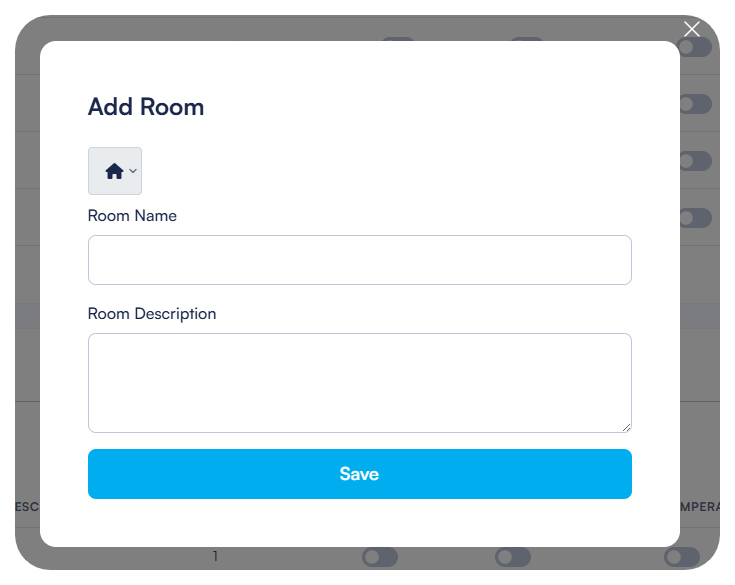
Rooms are the lowest level in the building hierarchy and represent the actual spaces where devices will be installed. Each room belongs to a specific area within a building.

Adding Rooms to Areas #

To add rooms to an area:

  • Click on an area name in the Areas list to access its details.
  • In the Rooms section, click the + Add Room button.
  • Enter a name for the room (e.g., “Living Room,” “Kitchen,” “Master Bedroom”).
  • Select an appropriate icon from the icon library to represent the room type.
  • Click Save to create the room.

The interface displays the number of devices in each room (initially zero). As you add devices to rooms later, this count will update automatically.


Configuring Room Settings #

To configure room settings:

  • In the Rooms list for a selected area, find the room you want to configure.
  • Click the edit icon (pencil) in the Actions column.
  • Update the room name or icon as needed.
  • Configure additional room properties including description, lights, shutters, and temperature controls as shown in the interface.
  • Click Save to apply your changes.

You can search for specific rooms using the search field at the top of the page or filter rooms by area using the filter dropdown.


Setting Permission Levels #

Permission levels control who can access and control devices in each room through the HyperVisu mobile application:

  • When editing a room, locate the Permission Level dropdown.
  • Select a level from 1 to 5:
    • Level 1: Lowest access level
    • Level 5: Highest access level (Administrator)
  • Later, when configuring users in the Visualization section, you’ll assign permission levels to each user, determining which rooms they can access based on these settings.

The interface displays the number of devices in each room (initially zero). As you add devices to rooms later, this count will update automatically.

Configuring Room Settings #

To configure room settings:

  1. In the Rooms list for a selected area, find the room you want to configure.
  2. Click the edit icon (pencil) in the Actions column.
  3. Update the room name or icon as needed.
  4. Configure additional room properties including description, lights, shutters, and temperature controls as shown in the interface.
  5. Click Save to apply your changes.

You can search for specific rooms using the search field at the top of the page or filter rooms by area using the filter dropdown.

Setting Permission Levels #

Permission levels control who can access and control devices in each room through the HyperVisu mobile application:

  • When editing a room, locate the Permission Level dropdown.
  • Select a level from 1 to 5:
    • Level 1: Lowest access level
    • Level 5: Highest access level (Administrator)
  • Later, when configuring users in the Visualization section, you’ll assign permission levels to each user, determining which rooms they can access based on these settings.

For efficient project management, make sure to configure your building hierarchy completely before proceeding to add devices. A well-structured building configuration will simplify device management and provide a more intuitive experience for end users of the HyperVisu application.

What are your feelings