Projects Overview #
The Projects section is the central hub for managing all your ElauPro projects. This is where you can view, create, edit, and organize your KNX automation projects.
List and Tile Views #
ElauPro offers two different viewing options to display your projects:
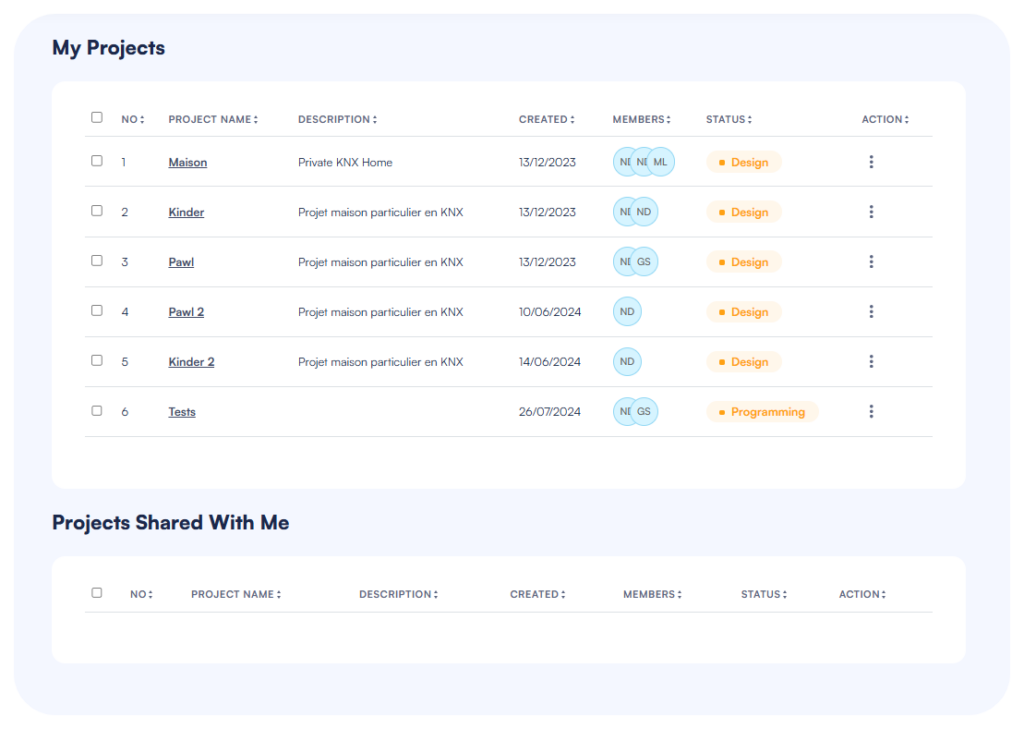
- List View: Displays projects in a detailed table format with columns for project number, name, description, creation date, members, status, and available actions. This view provides comprehensive information at a glance, making it ideal for managing multiple projects.

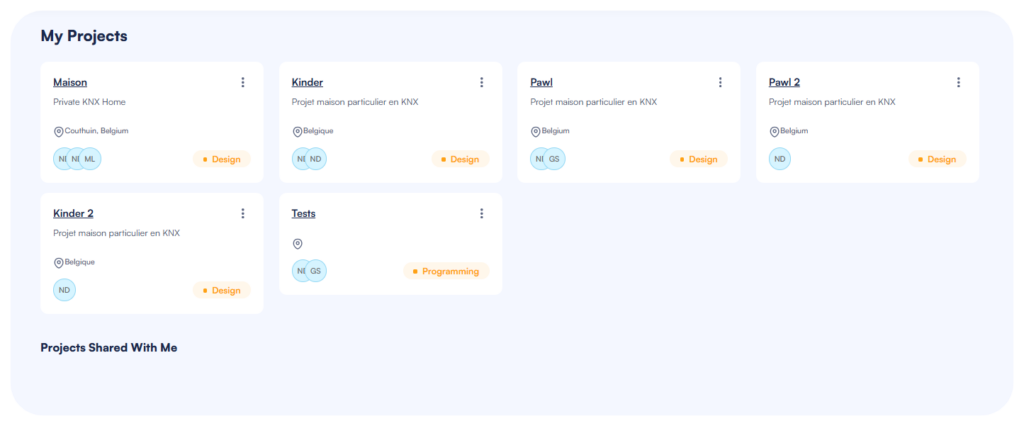
- Tile View: Presents projects as cards in a grid layout, showing essential information like project name, description, location, members, and status. This view offers a more visual representation of your projects.

To switch between views, click the view toggle button in the top-right corner of the Projects page.
My Projects vs. Shared Projects #
ElauPro organizes projects into two distinct sections:
- My Projects: These are projects that you have created. You have full control over these projects, including the ability to edit, duplicate, delete, and share them with other users.
- Projects Shared With Me: These are projects created by other ElauPro users who have shared them with you. Your access level to these projects depends on the permissions granted by the project owner.
Each section has its own area on the Projects page, making it easy to distinguish between your projects and those shared with you.

Creating a New Project #
Project Details #
To create a new project in ElauPro:
- Click the Create Project button in the top-right corner of the Projects page.
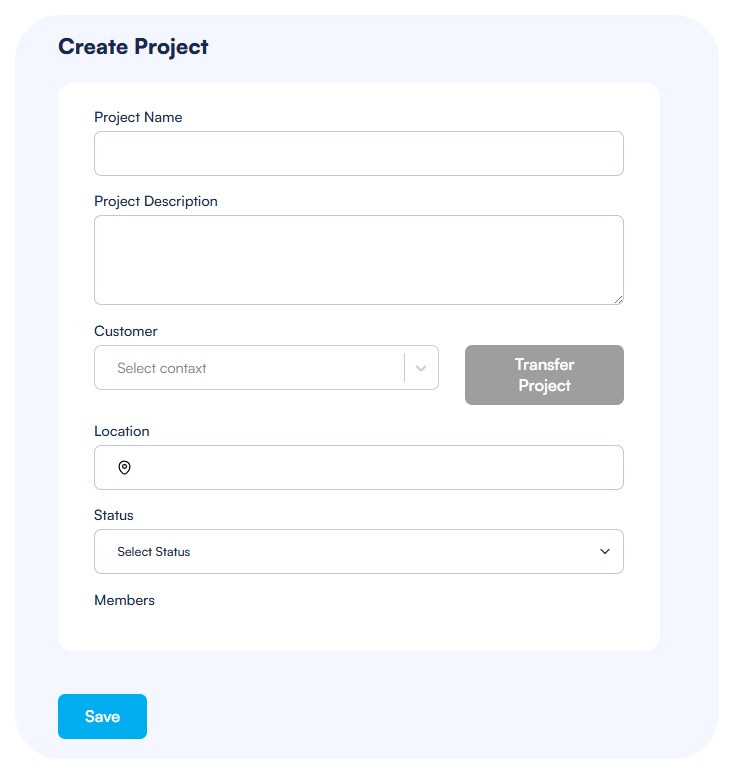
- Fill in the following project details:
- Project Name: Enter a descriptive name for your project.
- Project Description: Provide a brief overview of the project scope or purpose.
- Customer: Optionally assign a customer from your contacts list. This is useful if you’re creating the project for a specific client and may want to transfer ownership later. Alternatively It can also be added later in the project.
- Location: Specify the project location (country or city).
- Status: Select the current project status from the dropdown menu (e.g., Quote, Design, Programming, Installation, Completed).
- Members: Add team members who will collaborate on this project.
3.Click Save to create the project.
Once a project is created, you can edit these details at any time by selecting the project and clicking Edit Project from the actions menu.
Automatic Tag Generation #
ElauPro offers an automatic tag generation feature to streamline the naming and identification of elements in your project:
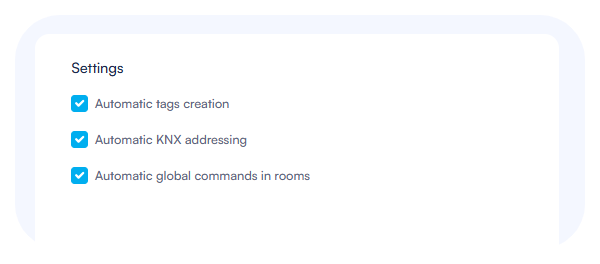
- When editing a project, locate the Settings section on the right side of the form.
- Check the Automatic tags creation option to enable this feature.

When enabled, ElauPro will automatically generate consistent, standardized tags for all devices and elements added to your project based on their type. This ensures a uniform naming convention throughout your project, making it easier to identify and manage devices.
For example, a light might automatically receive a tag like “L01”. Refer to the Device Management section for more details on tags used for each type of device.
Automatic KNX Address Generation #
Similar to automatic tag generation, ElauPro can also automatically assign KNX group addresses to devices and functions:
- In the project settings, check the Automatic KNX addressing option.
- When enabled, ElauPro will automatically assign appropriate KNX group addresses to all devices and functions in your project according to standardized practices.
This feature significantly reduces the time spent on manual address assignment and helps maintain a logical, consistent addressing scheme throughout your KNX installation. Refer to the KNX section of this manual for more details on the addressing structure.
Global Commands #
ElauPro allows you to configure global commands for rooms and categories, which enable controlling multiple devices of the same type with a single command:
- Check the Automatic global commands in rooms option in the project settings.
- When enabled, ElauPro will automatically activate global commands in a room or category if it includes at least two devices of the same type (lights or shutters).
These global commands appear in the final visualization, allowing end-users to control entire categories of devices with a single tap.
Project Operations #
Opening and Closing Projects #
Opening a Project:
- From the Projects page, locate the project you wish to open in either the List or Tile view.
- Click on the project name to open it.
- The project will load, and its name will appear at the top of the screen.
- The navigation menu on the left will expand to show all available project sections (Buildings, Devices, Panels, etc.).
Closing a Project:
- To close the currently open project, click the “X” next to the project name at the top of the screen.
- Alternatively, you can click the “Projects” menu item in the navigation panel and select another project.
- You will be returned to the Projects page.

Editing Project Information #
To edit project details after creation:
- From the Projects page, find the project you want to edit.
- You can edit a project in two ways:
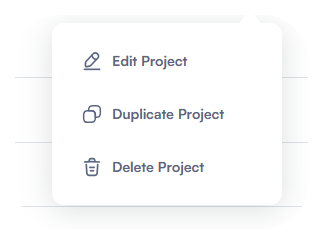
- Click the three-dot menu (⋮) next to the project and select Edit Project.
- Open the project and then click on its name at the top of the screen.
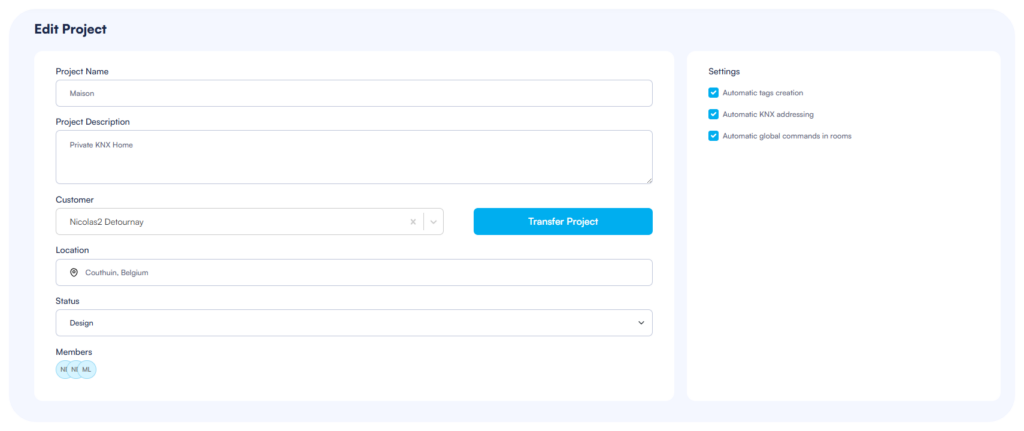
- The Edit Project form will open, displaying all project details.
- Modify any information as needed:
- Project Name
- Project Description
- Customer
- Location
- Status
- Members
- Project settings (automatic tags, KNX addressing, global commands)
- Click Save to apply your changes.

Duplicating Projects #
The duplication feature saves time when creating similar projects by copying all settings and configurations:
- From the Projects page, locate the project you wish to duplicate.
- Click the three-dot menu (⋮) next to the project.
- Select Duplicate Project from the dropdown menu.
- A new project will be created with the same configuration as the original, with “- Copy” appended to the name.
- The duplicated project will appear in your My Projects list.
- You can edit the duplicated project to modify its name and other details as needed.
This feature is particularly useful for:
- Creating templates for similar installation types
- Testing changes in a safe copy before modifying a production project
Reusing successful configurations for new clients
Deleting Projects #
To delete a project that is no longer needed:
- From the Projects page, find the project you want to delete.
- Click the three-dot menu (⋮) next to the project.
- Select Delete Project from the dropdown menu.
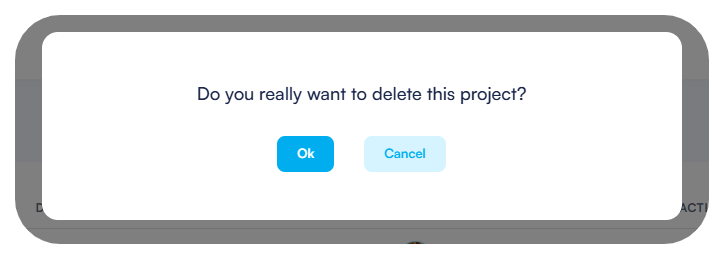
- A confirmation dialog will appear asking you to confirm the deletion.
- Click Confirm to permanently delete the project.
Important Notes:
- Project deletion is permanent and cannot be undone.
- All project data, including building structures, device configurations, and visualization settings, will be lost.
- If the project has been shared with other users, it will be removed from their shared projects list.