Search
Close this search box.
Search
Close this search box.

Scenarios

Scenarios are powerful automation features in HyperVisu that allow you to control multiple devices with a single command or schedule automatic actions at specific times. This section explains how to create, configure, and manage scenarios to enhance your smart home experience.

Creating Scenarios #

Scenarios can be created from either the home page or within specific rooms:
  • Navigate to the home page or a specific room in the HyperVisu application
  • Click the “+” button located in the top-right corner of the screen
  • This will display the list of existing scenarios (if any)
  • Tap “Add Scene” at the bottom of the list
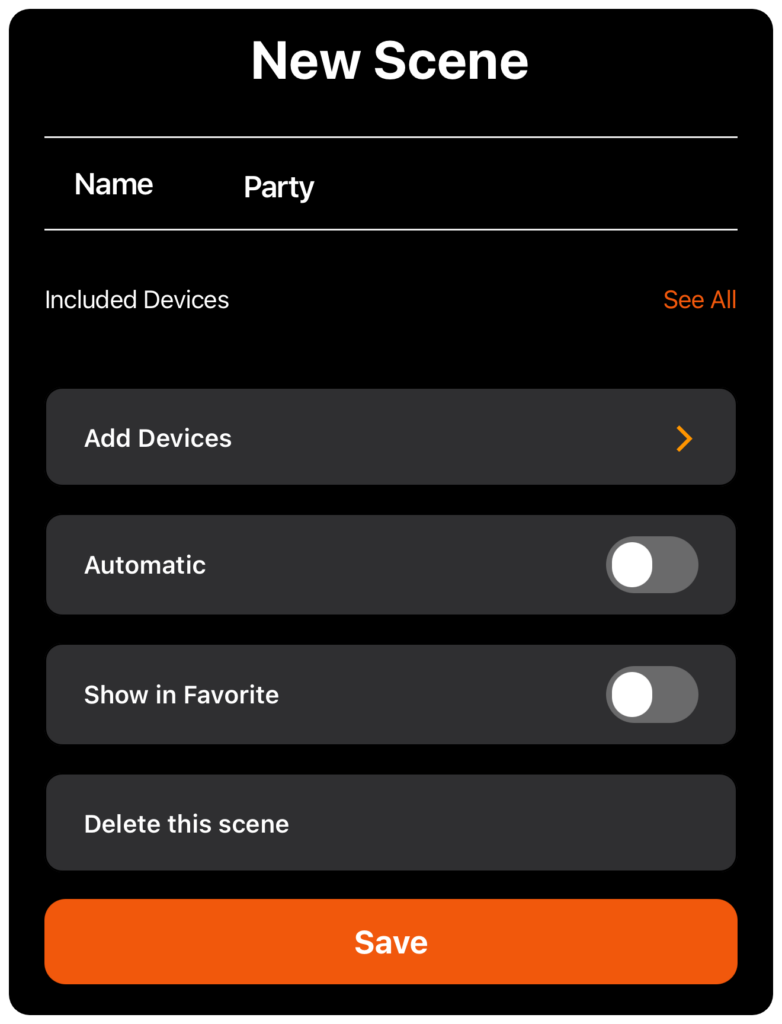
  • On the “New Scene” page, enter a meaningful name for your scenario (e.g., “Movie Night”, “Party”, “Good Morning”)
  • Tap “Save” to create the basic scenario, or continue configuring it as detailed below


A scenario can be room-specific (when created from a room page) or global (when created from the home page). Global scenarios can control devices across multiple rooms.

Configuring Device States #

After creating a scenario, you’ll need to configure which devices it will control and what state each device should be in when the scenario is activated:
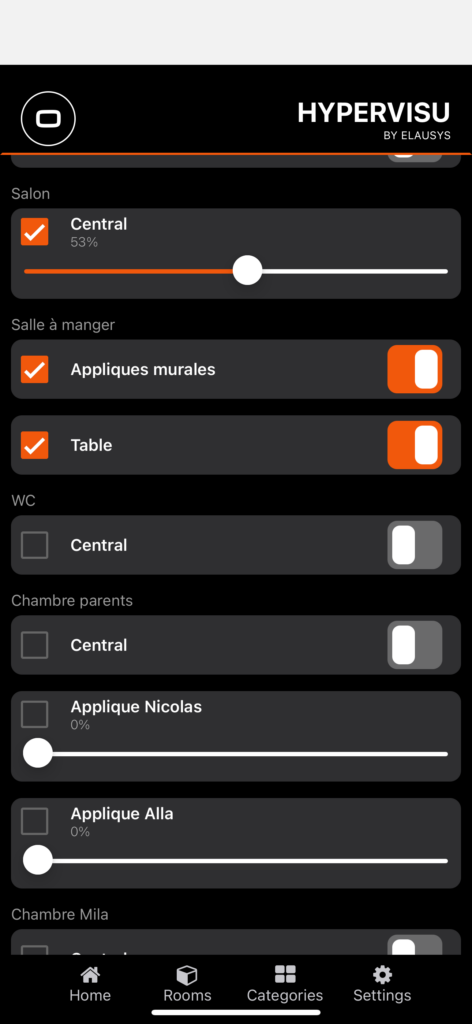
  • From the scenario creation/edit screen, tap “Add Devices”
  • You’ll see a list of devices organized by rooms
  • Select devices to include in your scenario by:
    • Tapping the checkbox next to individual devices
    • Or tapping a room/category checkbox to select all devices in that group
  • For each selected device, configure the desired state:
    • For on/off devices: toggle the switch to ON or OFF
    • For dimmers: adjust the slider to set the brightness level (e.g., 53%)
    • For RGB lights: select the desired color and brightness
    • For shutters/blinds: set the position (specific percentage)
    • For climate controls: set the mode
  • When finished selecting and configuring devices, tap “Save” to return to the scenario configuration page


The application will remember these states and apply them all simultaneously when the scenario is activated, either manually or automatically.


Automatic Execution #

Scenarios can be configured to run automatically at specific times and days:

  • From the scenario configuration screen, toggle the “Automatic” switch to ON
  • This will enable scheduling options for automatic execution

 Time Range Configuration #

HyperVisu allows you to set up to three different schedules for each scenario:
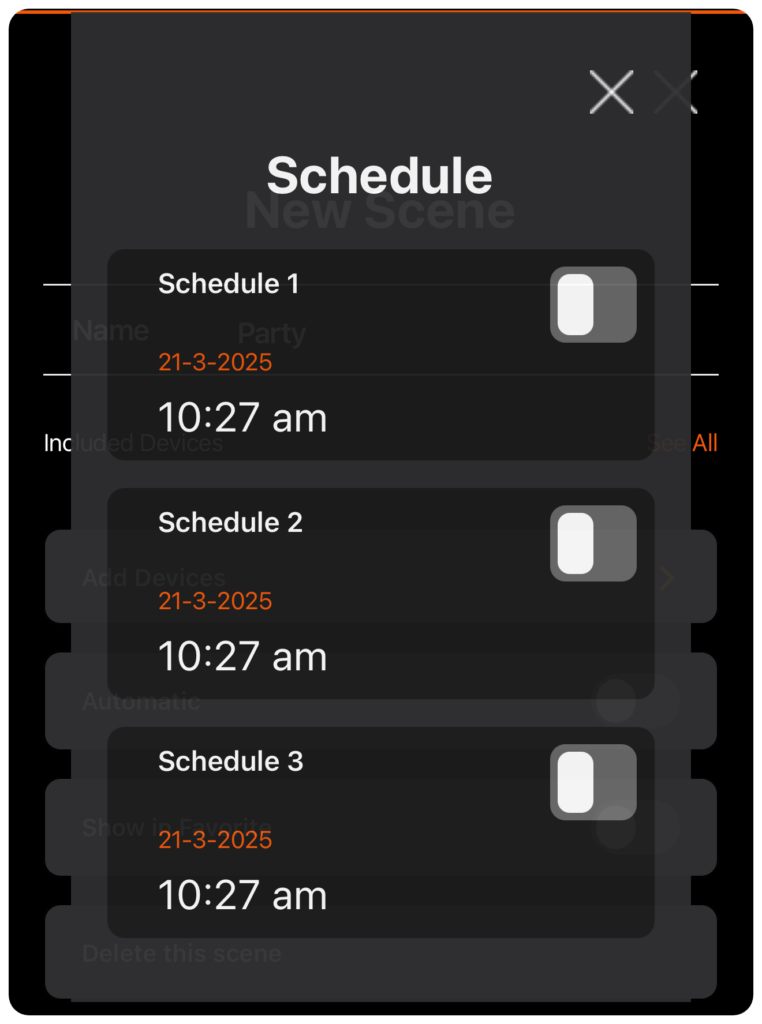
 
  • On the scenario configuration screen, you’ll see three schedule options (Schedule 1, Schedule 2, Schedule 3)
  • Toggle the switch next to each schedule to enable or disable it
  • For each enabled schedule, tap on the time to set when the scenario should execute
  • Use the time picker to set the desired hour and minute
  • Tap “Done” to confirm the time setting


Having multiple schedules allows for flexible automation. For example, you could have the same scenario run at different times on weekdays versus weekends.


Day Selection #

For each schedule, you can select which days of the week it should run:
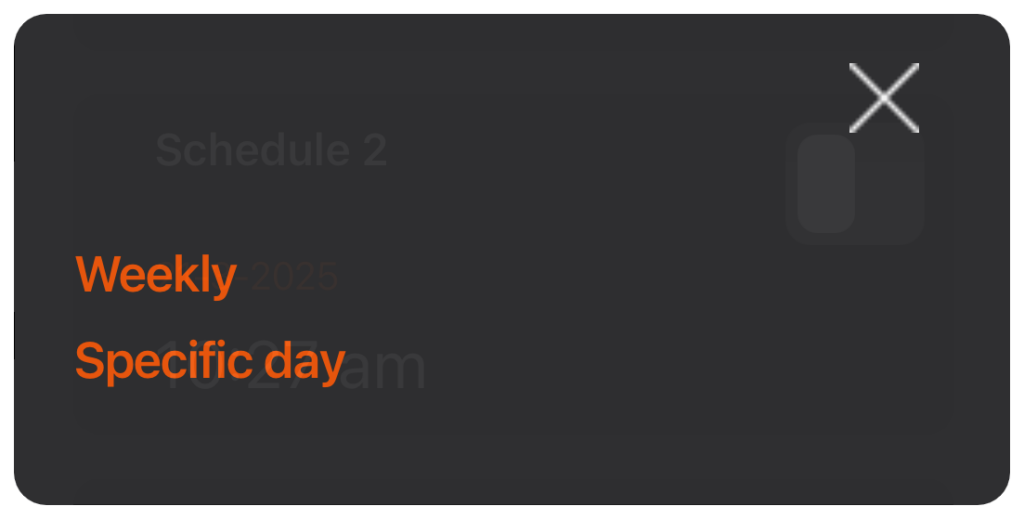
  • After enabling a schedule and setting the time, tap on the date
  • You’ll be presented with day selection options:
    • “Weekly” – runs every week on specified days
    • “Specific day” – runs only on a specific date
 
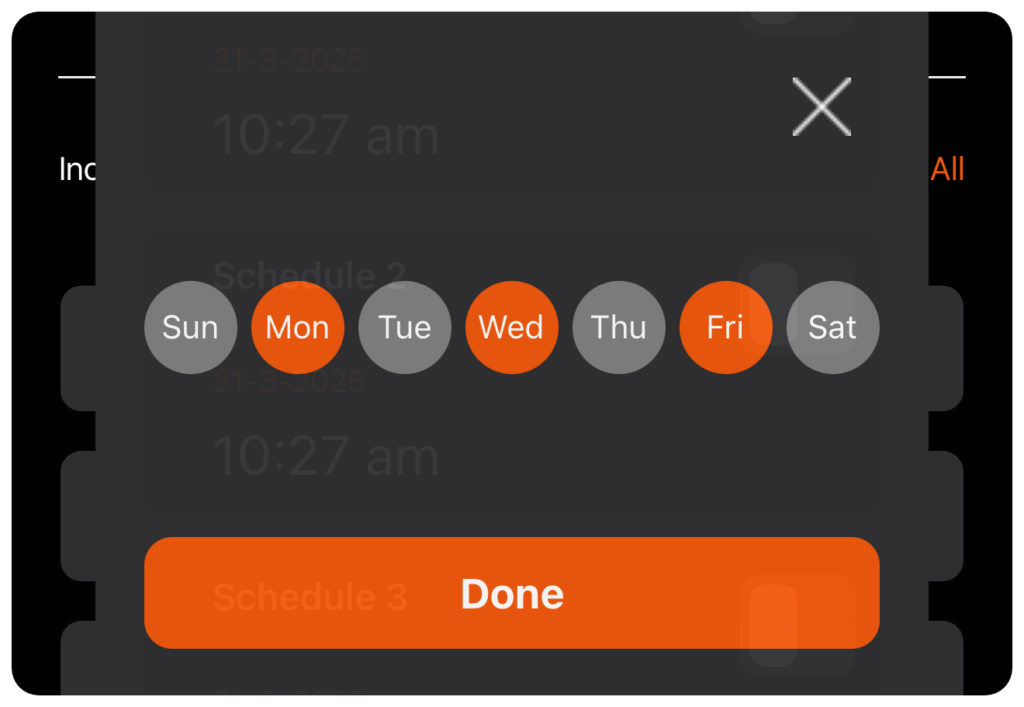
  • If you select “Weekly,” you’ll see circular buttons for each day of the week (Sun, Mon, Tue, Wed, Thu, Fri, Sat)
  • Tap the days when you want the scenario to run (selected days will be highlighted in orange)
 
  • Tap “Done” to confirm your day selection
  • Repeat this process for any additional schedules as needed


For example, you could set a “Wake Up” scenario to run at 6:30 AM on weekdays (Mon, Tue, Wed, Thu, Fri) and at 8:00 AM on weekends (Sat, Sun).


Managing Scenarios #

Adding to Favorites #

To make scenarios easily accessible from the home page:

  • From the scenario configuration screen, toggle the “Show in Favorite” switch to ON
  • The scenario will now appear in the “Favorite Category” section on the home page
  • This allows for quick access to frequently used scenarios without navigating through menus


Favorite scenarios can be activated with a single tap from the home screen.


Manual Execution #

To manually execute a scenario at any time:

  • Navigate to the home page if the scenario is marked as a favorite, or tap the “+” button to see all scenarios
  • Tap on the scenario name to execute it immediately
  • All devices included in the scenario will switch to their configured states


Manual execution is useful for on-demand control of multiple devices, regardless of any automatic scheduling you may have set up.


Editing and Deleting #

To modify or remove existing scenarios:

  • Navigate to the home page or a specific room
  • Tap the “+” button in the top-right corner to view all scenarios
  • To edit a scenario:
    • Tap “Edit” next to the scenario name
    • Make your desired changes to the name, device selections, states, scheduling, or favorite status
    • Tap “Save” to confirm your changes
  • To delete a scenario:
    • Open the scenario for editing
    • Scroll down and tap “Delete this scene”
    • The scenario will be removed from the system
What are your feelings