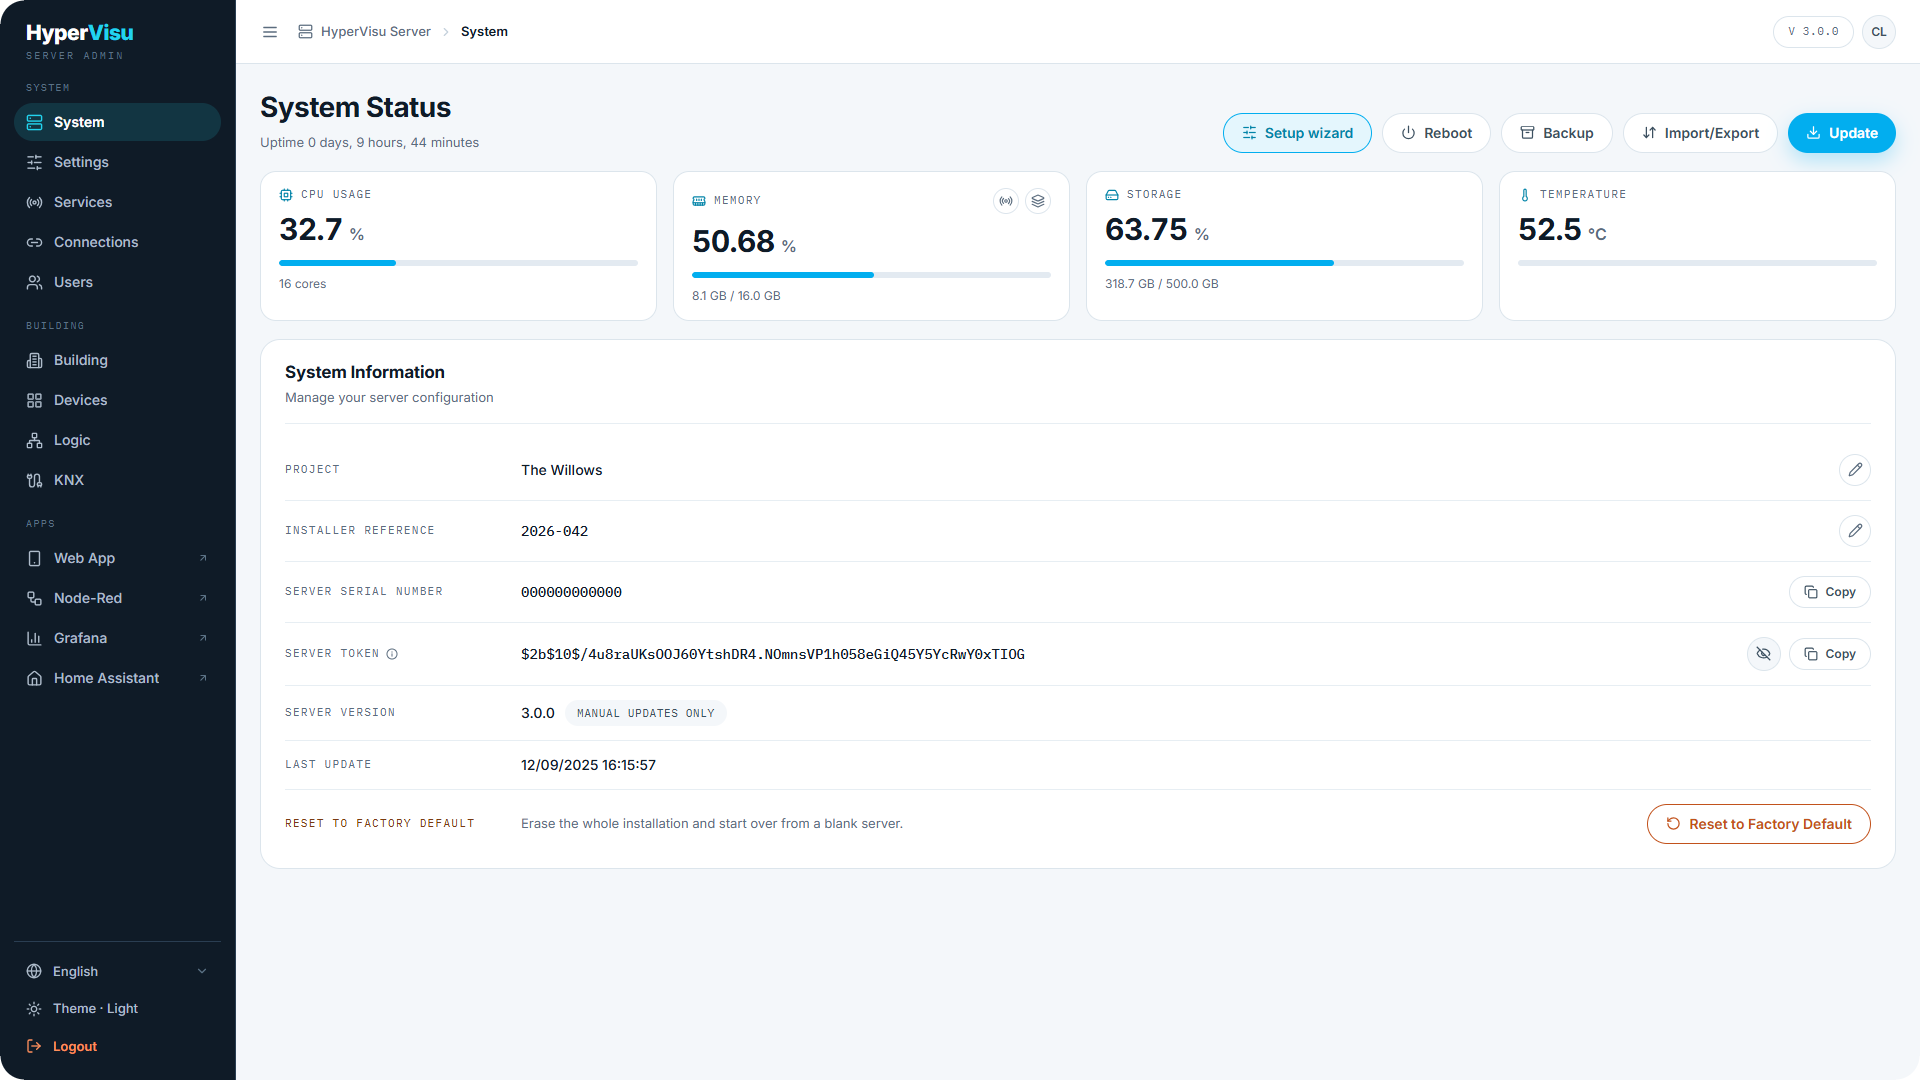
The wizard leaves you with a configured server. Walk this checklist before handing the system over.
- Verify the KNX connection. Open the KNX page: the status strip should show the connection up. Open the bus monitor and watch live telegrams arrive as you press a wall switch (see “KNX Bus Monitor”).
- Link to ElauPro (optional). If you manage this installation in ElauPro, copy the serial number and the server token from the System page into the ElauPro project — this centralizes the project documentation and gives you central remote access to the server (see “Integration with ElauPro”).
- Add the equipment that is not on the KNX bus. Inverters, meters, wallboxes, Shelly relays and Sonos speakers come from the Devices Library: pick the model, give it an address, and the widgets are created already bound (see “Devices Library & Sonos Binding”).
- Create the household accounts. Add a user per resident with a sensible access level — most residents need a mid level, not level 5 — and restrict rooms/categories where appropriate (see “Users & Access Levels”).
- Test one device end-to-end. Sign in to the HyperVisu app, toggle a light, and confirm the physical device reacts and the app updates when you use the wall switch.
- Enable logging on the objects that matter. Trend charts and meters only show history for objects with logging to the history database switched on (see “Object Settings, Logging & Notifications”).