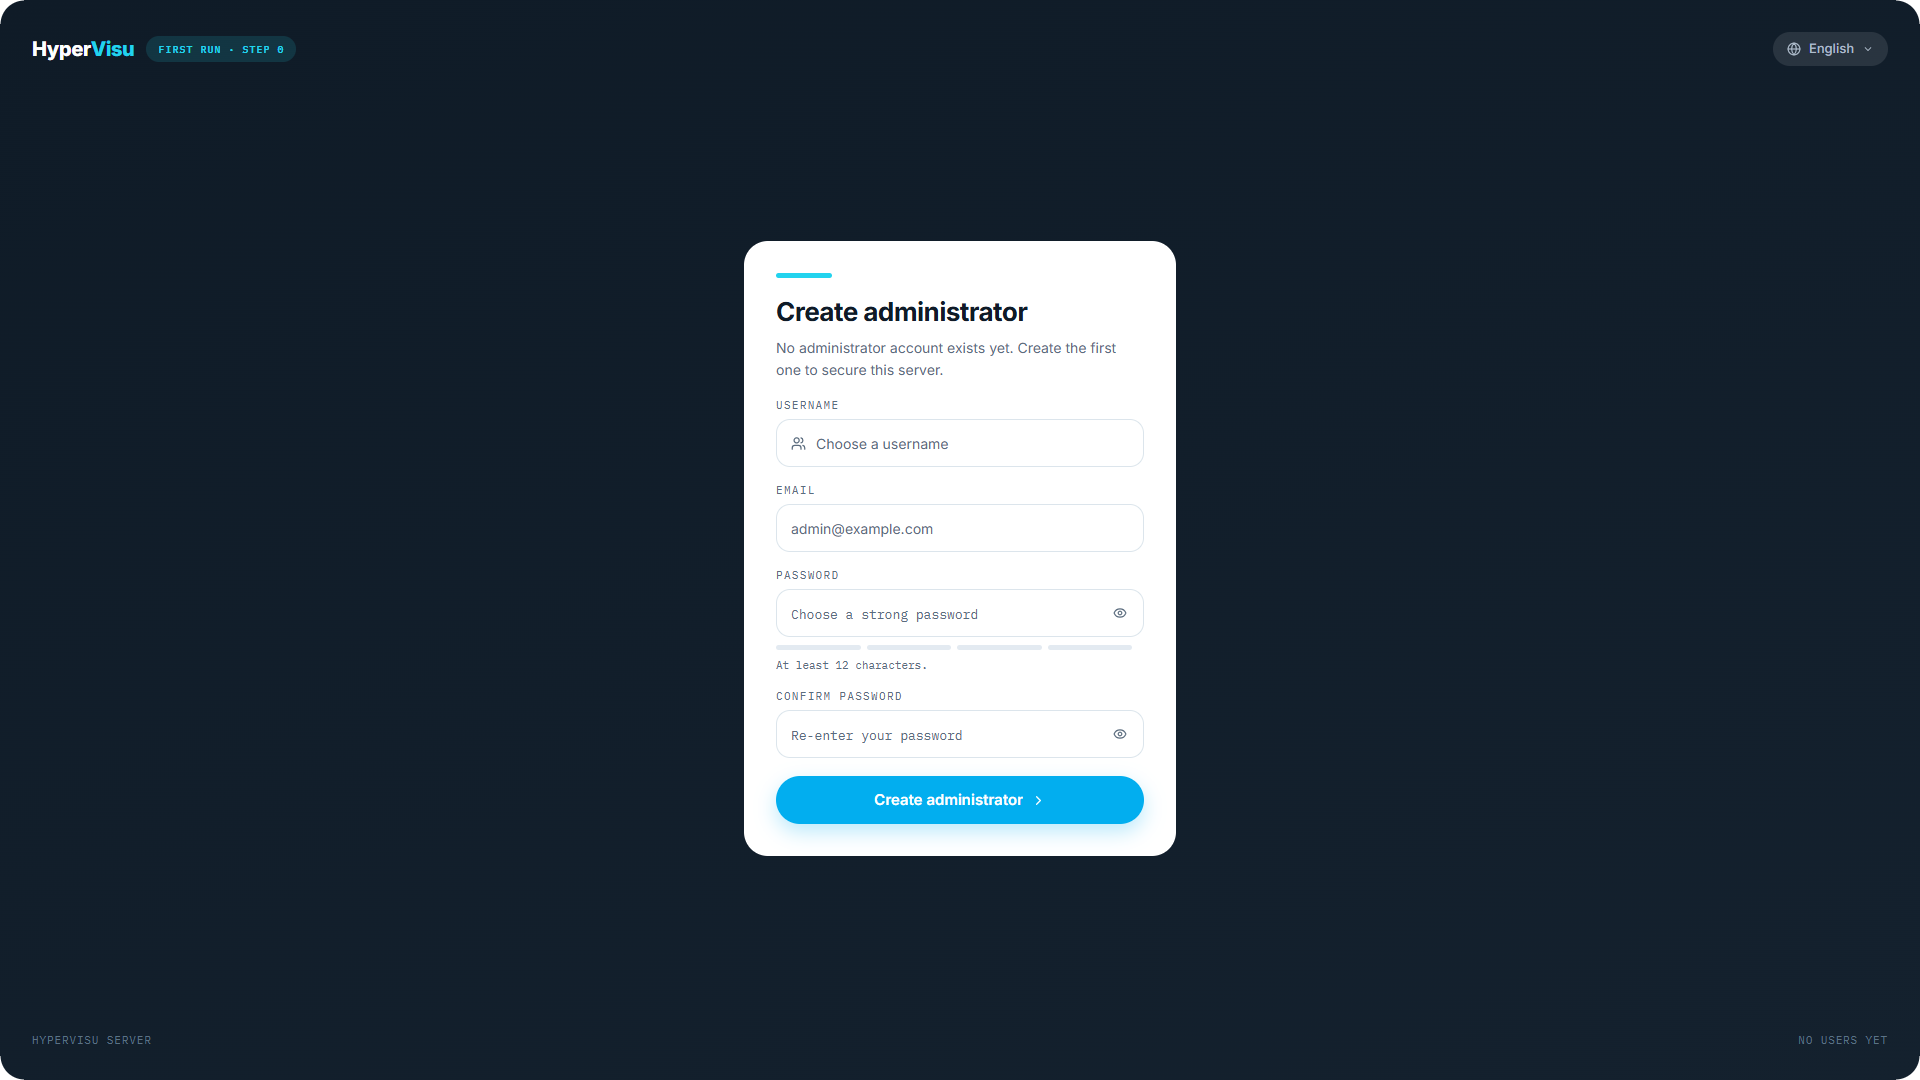
This section takes you from the box to a server you can reach in a browser. It applies to a new appliance and to one that has been factory-reset.
Connections
- Note the serial number on the label of the server. You will need it for cloud access.
- Connect the server to your network switch or router with an Ethernet cable.
- Connect the power supply.
- Wait a few minutes for the first boot to complete.
📘 Note: Install the server in a ventilated place — an electrical cabinet or technical room is typical. It needs a wired network connection; there is no Wi-Fi setup.
Finding the server on the network
The server takes an address over DHCP and announces itself by name, so in most cases you never need to know its IP address.
By name. Open http://hypervisu.local/admin from a computer on the same network. A server also answers at http://hypervisu-<serial>.local/admin, using the serial number from its label — use that longer form when the installation has more than one server, because only one of them can carry the short name.
By IP address. Open your router's client list and look for the new device; it appears there by name. Any network scanner app on your phone works too.
When the network has no DHCP server. This is normal when you commission before the router is installed. The server then also answers at two fixed addresses:
| Address | When it works |
|---|---|
192.168.1.60 | While the server has no DHCP address. Put your computer on the same subnet, for example 192.168.1.10. |
169.254.60.60 | When your computer has no DHCP address either, and this is the only server on the network. Connect the two with a cable or a small switch and wait about a minute for both to settle. |
📘 Note: Finding the server by name needs mDNS, which Windows, macOS, iOS and Android all support out of the box. A few corporate networks block it — use the IP address there.
First-contact checklist
- From a computer on the same network, open
http://<server-ip>/adminin a browser. - You should see the HyperVisu sign-in screen — or, on a brand-new server, the first-administrator setup screen (see “Creating the First Administrator”).
- If nothing loads, check the Ethernet link lights, try one of the fixed addresses above, and see “Troubleshooting: Connection & Sign-In” (Troubleshooting).