
Your installer has set up the system and created an account for you. Ten minutes from here, you'll be at home in the app.
Get the app
- Phone or tablet: install HyperVisu from the App Store (iOS) or Google Play (Android).
- Browser: open the web app — ask your administrator for the address; it is the server address you also use to connect below.
Connect to your server
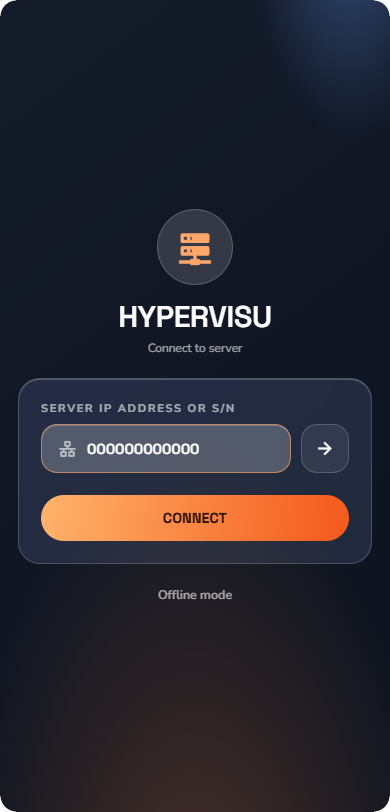
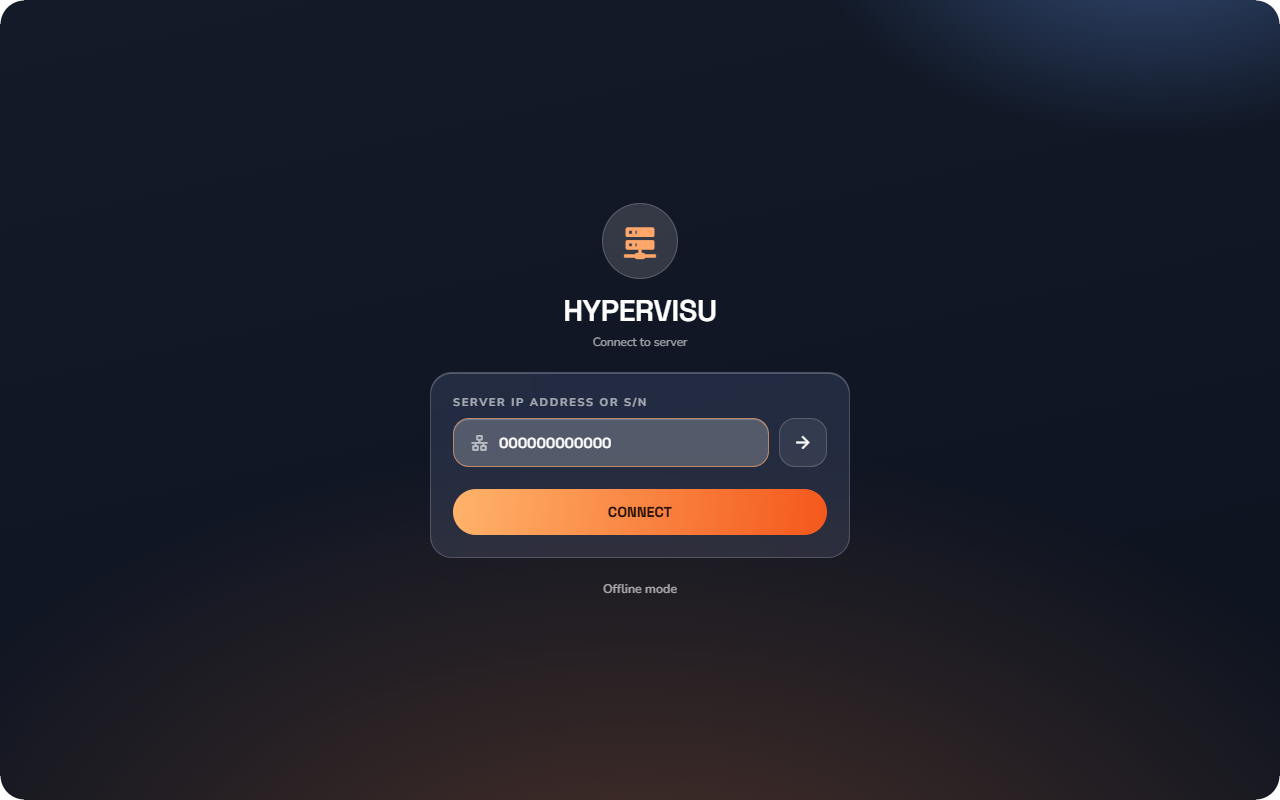
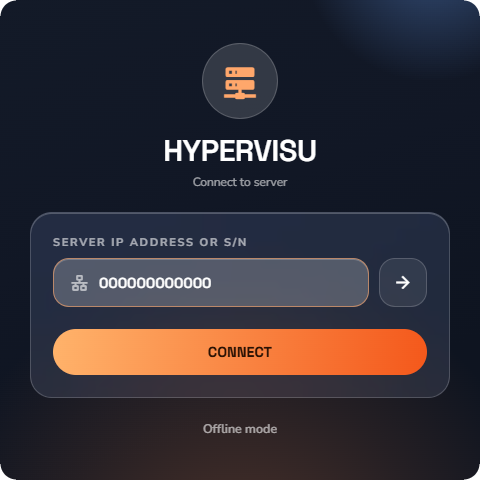
The first screen is Connect to server.
- In the Server IP address or S/N field, enter either the server's local IP address or its serial number (on the server's label, or on the system page of the admin panel).
- Tap Connect. The app resolves cloud versus local automatically: at home it uses the fast local connection, elsewhere it goes through the cloud — and it falls back to the other path if one fails.
💡 Tip: No server yet? Tap Demo mode at the bottom to explore the app with built-in demo data — no connection or account needed.
Sign in
Enter the username and password your administrator gave you and tap Login. The app loads your home: rooms, devices, scenarios — everything you have access to.
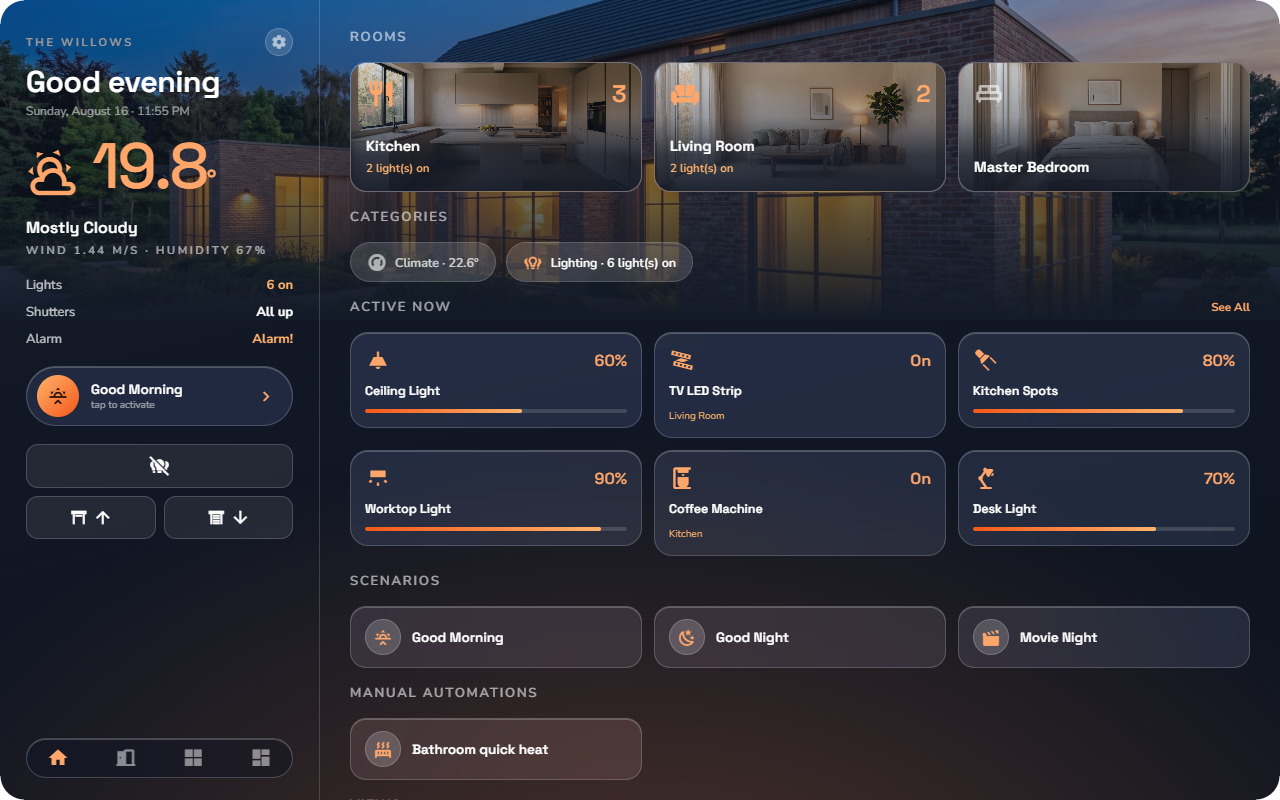
A first look at the Home screen
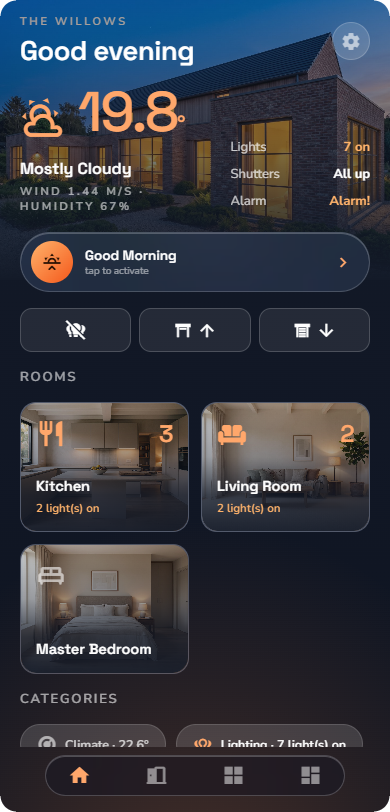
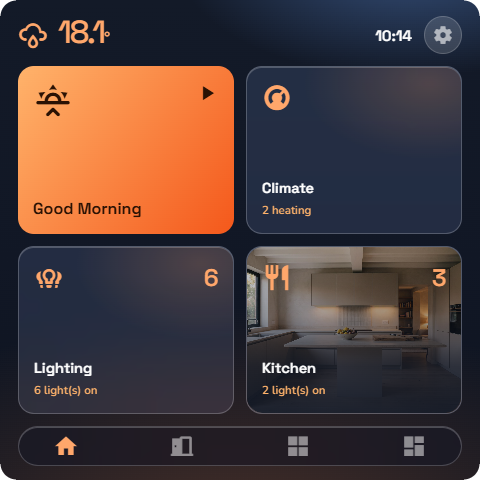
- At the top: a greeting and a live reading (weather, temperature or energy, as configured).
- A live summary of the house: lights on, shutters, alarm.
- Sections for your rooms, scenarios, categories and anything currently active.
- Bottom navigation to Home, Rooms, Categories and Views, plus the settings menu.
The full tour is in “The Home Screen”.
Five things to try first
- Toggle a light — open a room and tap a light. It switches instantly, and the app shows its live state.
- Run a scenario — tap the play button on a scenario ("Movie night", "Good morning"…) and watch several devices move at once.
- Open a room — tap a room tile to see everything in it, grouped by category, with its live summary.
- Pin a favorite — long-press a device you use often to pin it as a favorite; favorites surface first (see “App Settings & Personalization”).
- Open the settings — pick your language and theme, and make the app yours (see “App Settings & Personalization”).