Building structure
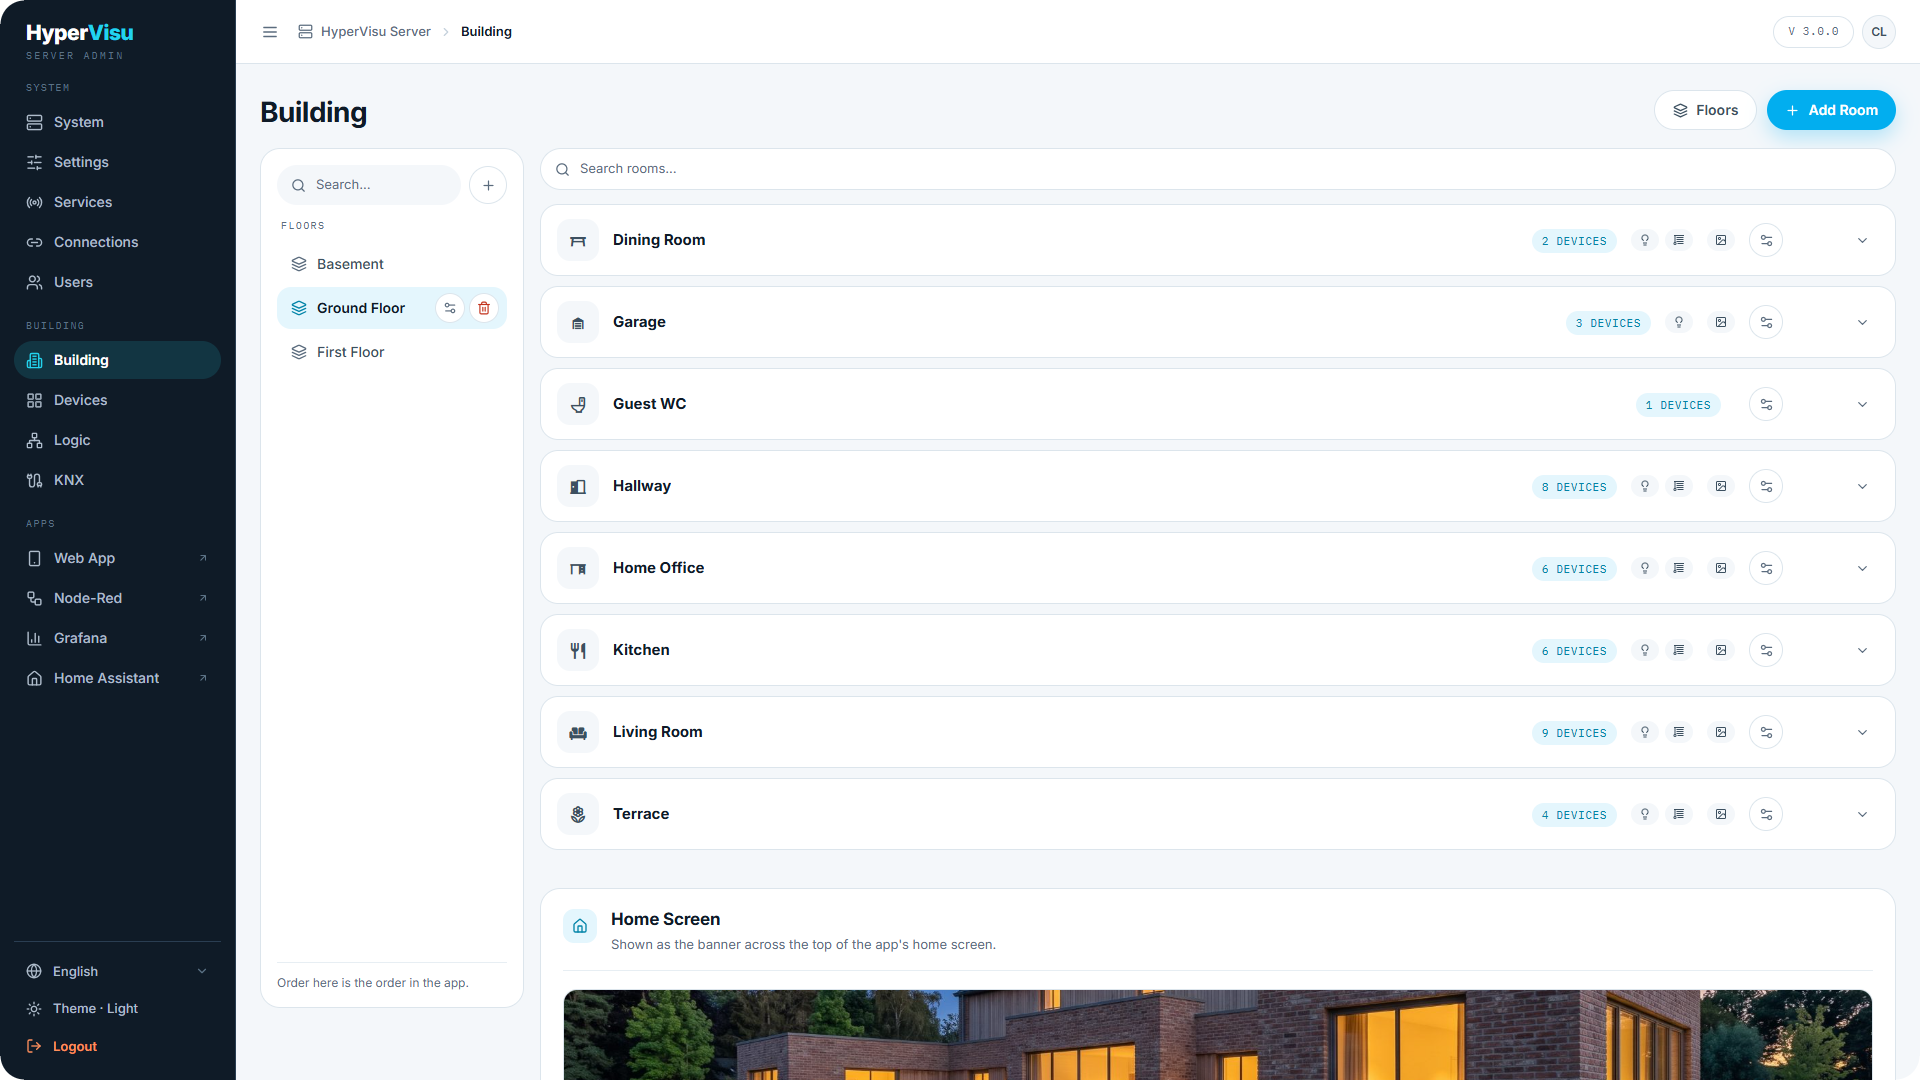
Building (sidebar group BUILDING) defines the physical structure of the installation: floors and rooms. The structure you build here is exactly what residents see in the app — the order of floors and rooms here is the order in the app.
Floors
Floors are managed in the rail on the left. Click Add Floor or open Manage Floors to add, edit or remove them:
| Field | Description |
|---|---|
| Floor Name | e.g. Ground floor, First floor. |
| Floor Number | Sets the order: 0 = ground floor, positive numbers above, negative numbers for basements. |
| Description | Optional. |
📘 Note: A floor that still has rooms cannot be deleted — delete or move its rooms first.
Rooms
Each floor lists its rooms with a device count per room. To create or edit a room:
- Click Add Room (or select an existing room).
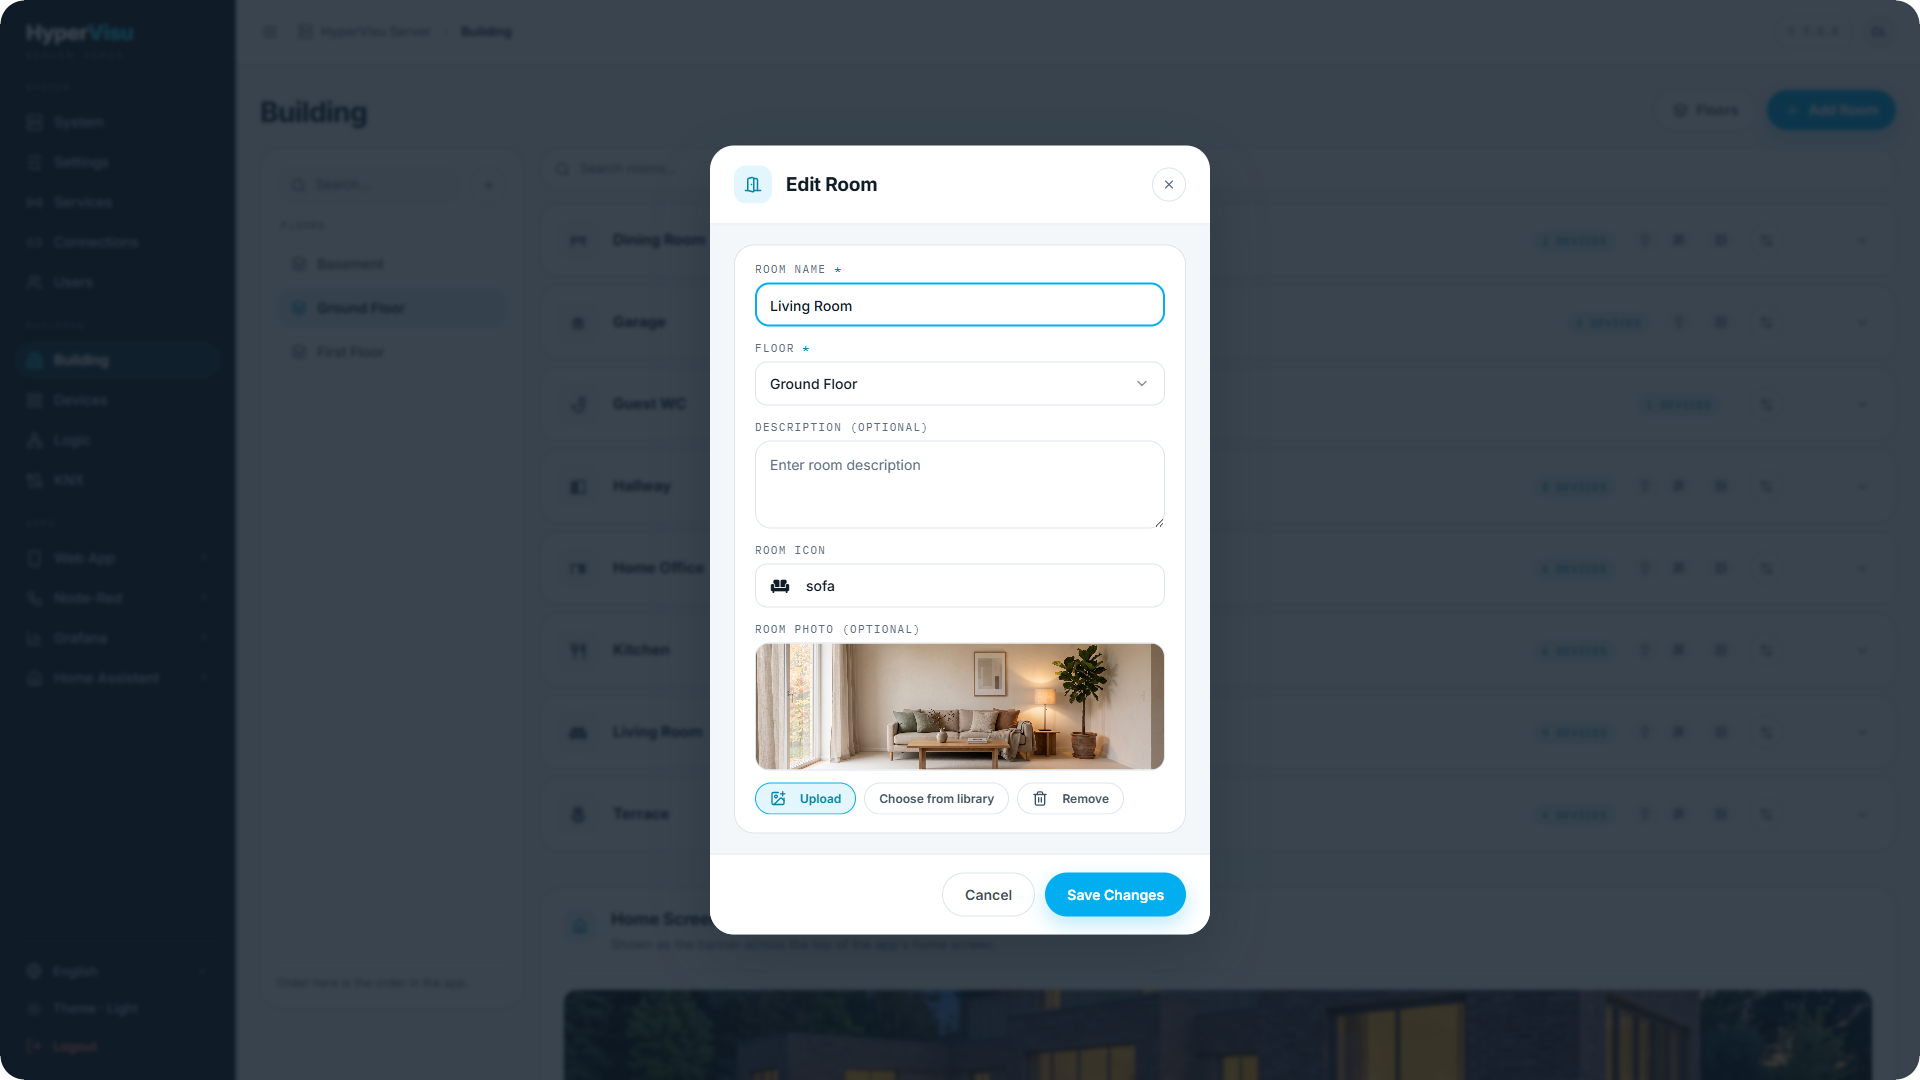
- Fill in the Room Name, pick the Floor, and optionally add a Description.
- Pick a Room Icon from the icon picker.
- Save. Remember to apply your staged changes (see “Admin Panel Tour”).
Each room offers an Open in Devices shortcut that jumps to that room's devices (see “The Devices Workspace”).
Room photos and the home screen photo
Each room can carry a photo, shown as the room's banner and on room tiles in the app:
- Upload — pick an image file; it is automatically resized for the app.
- Choose from library — pick one of the built-in default photos.
- Remove — clears the photo.
The Home Screen card sets the home screen photo — the banner shown across the top of the app's home screen.
Global buttons per room
The Global Buttons settings control which quick-action buttons appear at the top of the room page in the app:
- Lights — all lights in the room on/off.
- Shutters — all shutters in the room up/down.
- Temperature — the room temperature display.
Turn each one on or off per room. Individual devices can opt out of these sweeps (see “Alarm PIN & Global-Command Exclusions”).
Room permission level
Each room has a minimum Permission Level, from 1 to 5. Users below this level don't see the room — it disappears from their app entirely. A new room starts at level 1, visible to everyone; level 5 shows it to administrators only.
💡 Tip: Use this for technical rooms: set the boiler room to level 4 and residents at level 3 never see it.
Categories
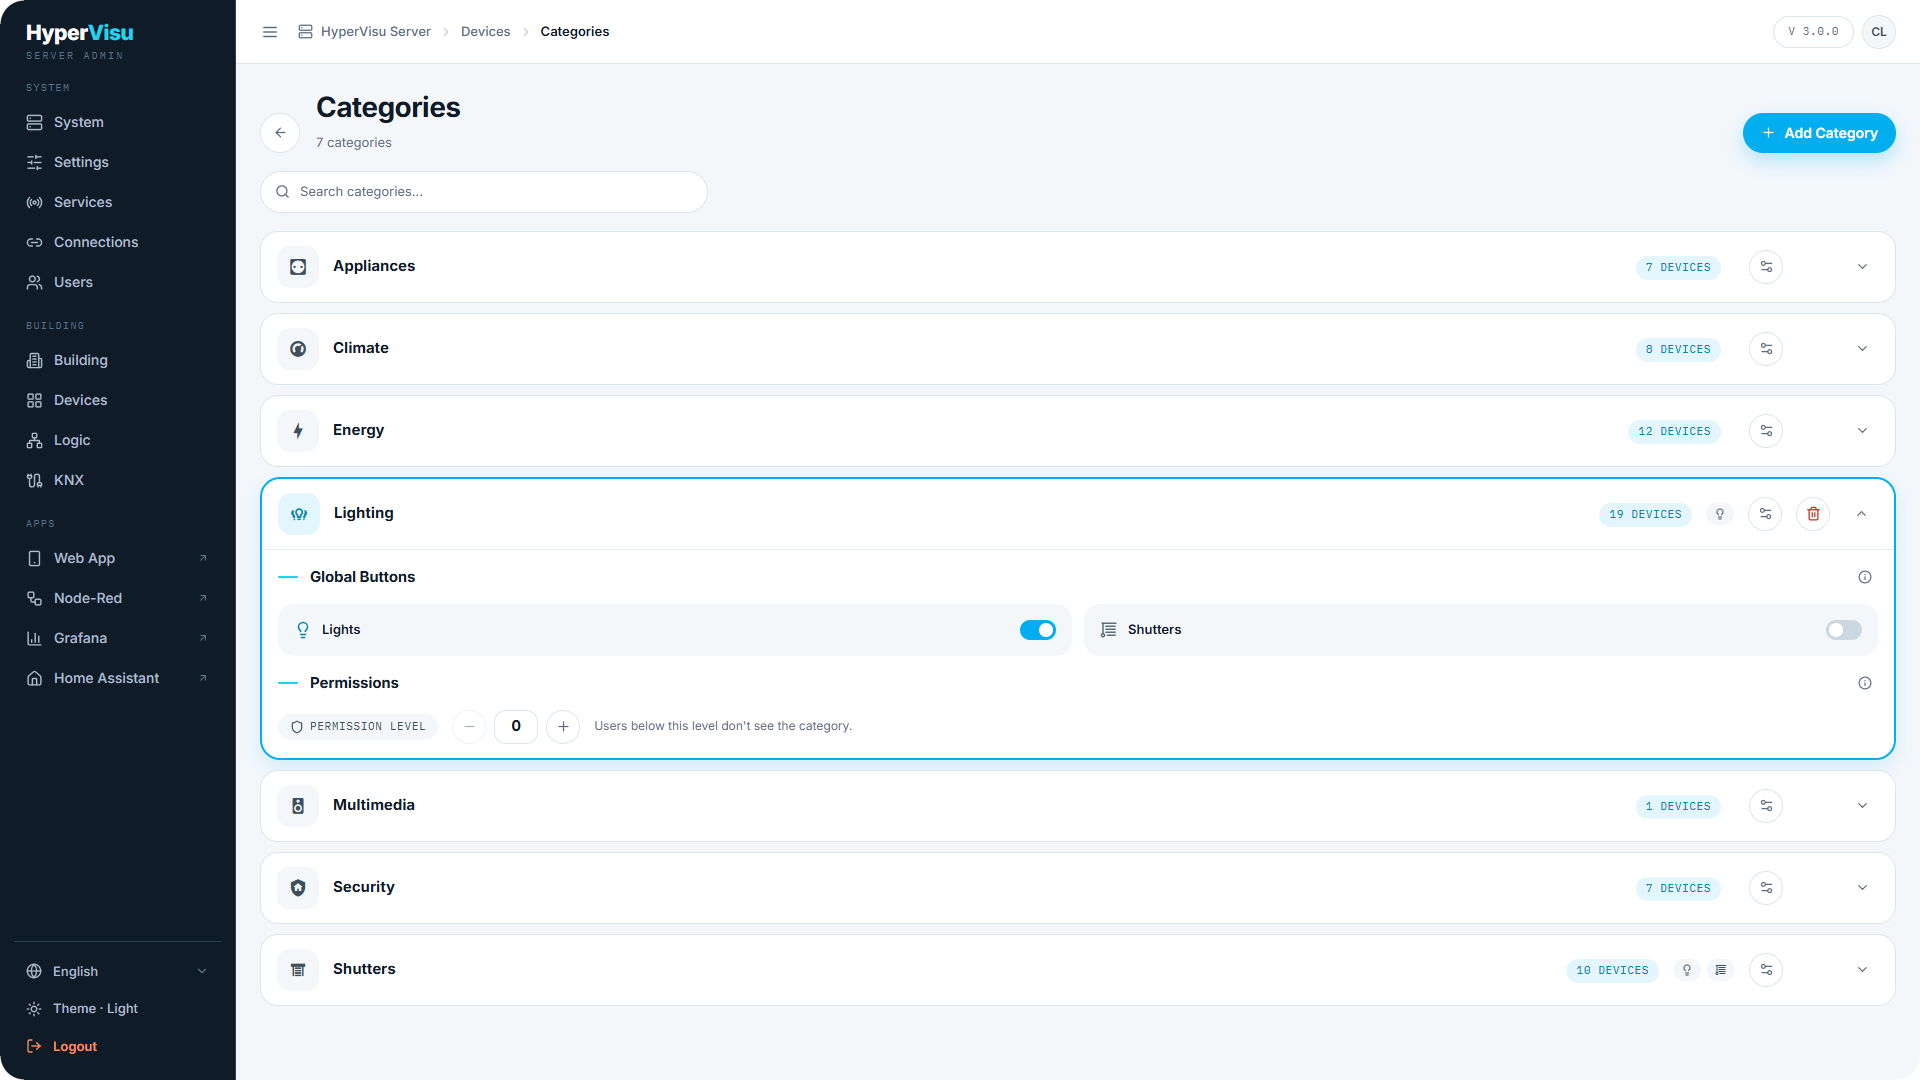
Categories (sidebar group BUILDING, reachable from the Devices workspace) groups devices by function — Lighting, Shutters, Heating, and so on. Categories are the second axis of navigation in the app, next to rooms.
To create or edit a category:
- Click Add Category (or select an existing one).
- Fill in the Category Name and optionally a Description.
- Pick a Category Icon.
- Save, then apply your staged changes (see “Admin Panel Tour”).
Each category also has:
- Global action buttons — control their visibility at the top of the category page in the app. When enabled, users can quickly control all lights or shutters of the category at once.
- Permission Level — from 1 to 5; users below this level don't see the category (same rule as rooms, see this article).
Deleting a category asks for confirmation and cannot be undone.