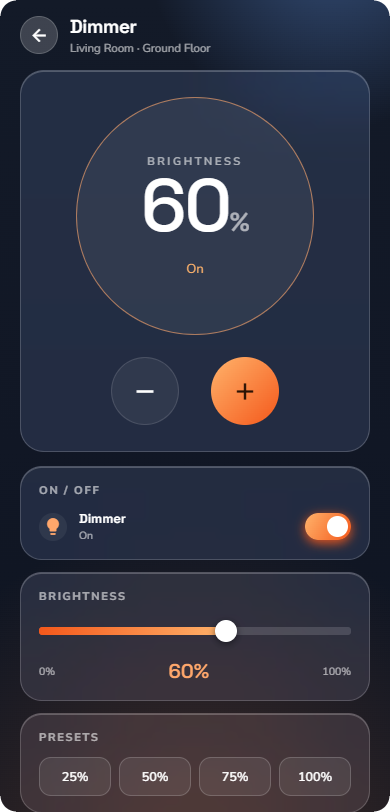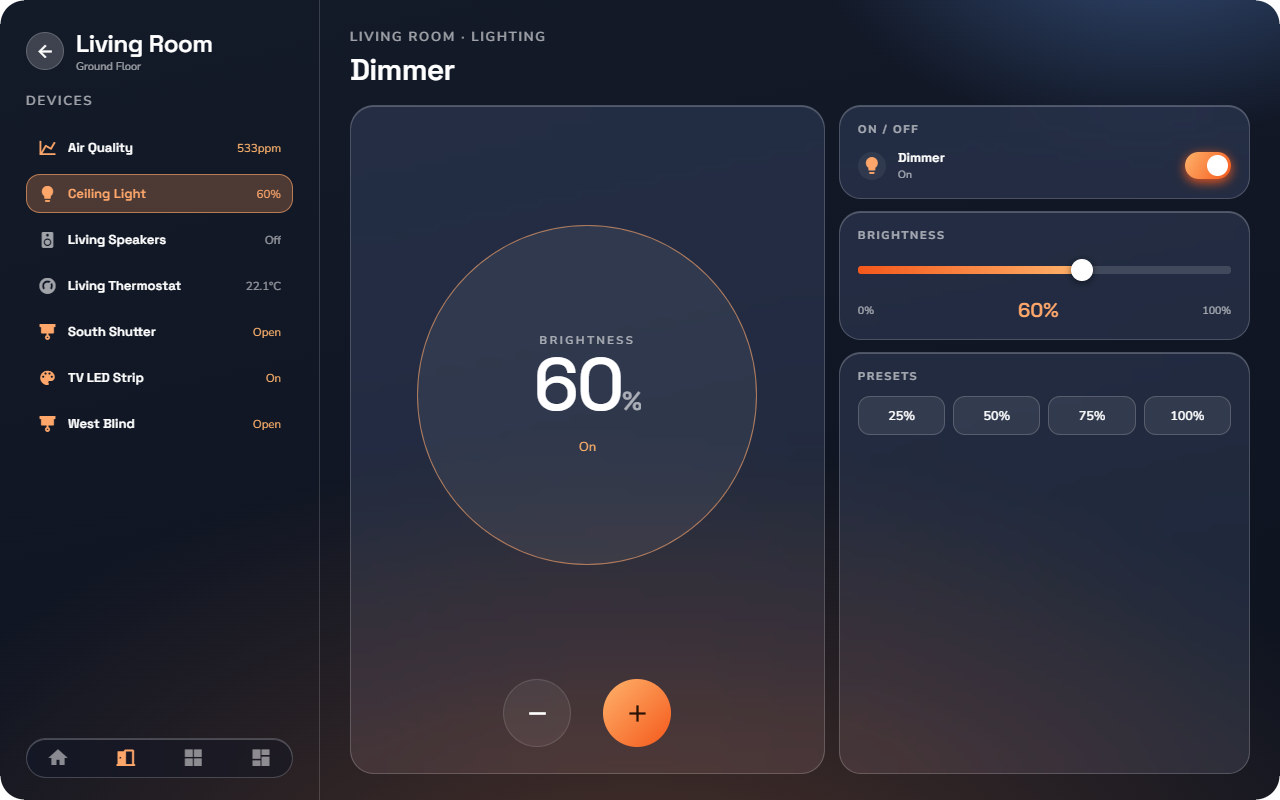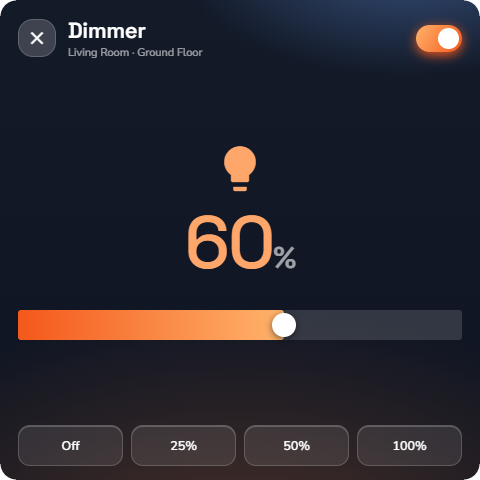
Every device in HyperVisu follows the same grammar. Once you know it, every widget — light, shutter, thermostat, meter — works the same way.
Rows and tiles
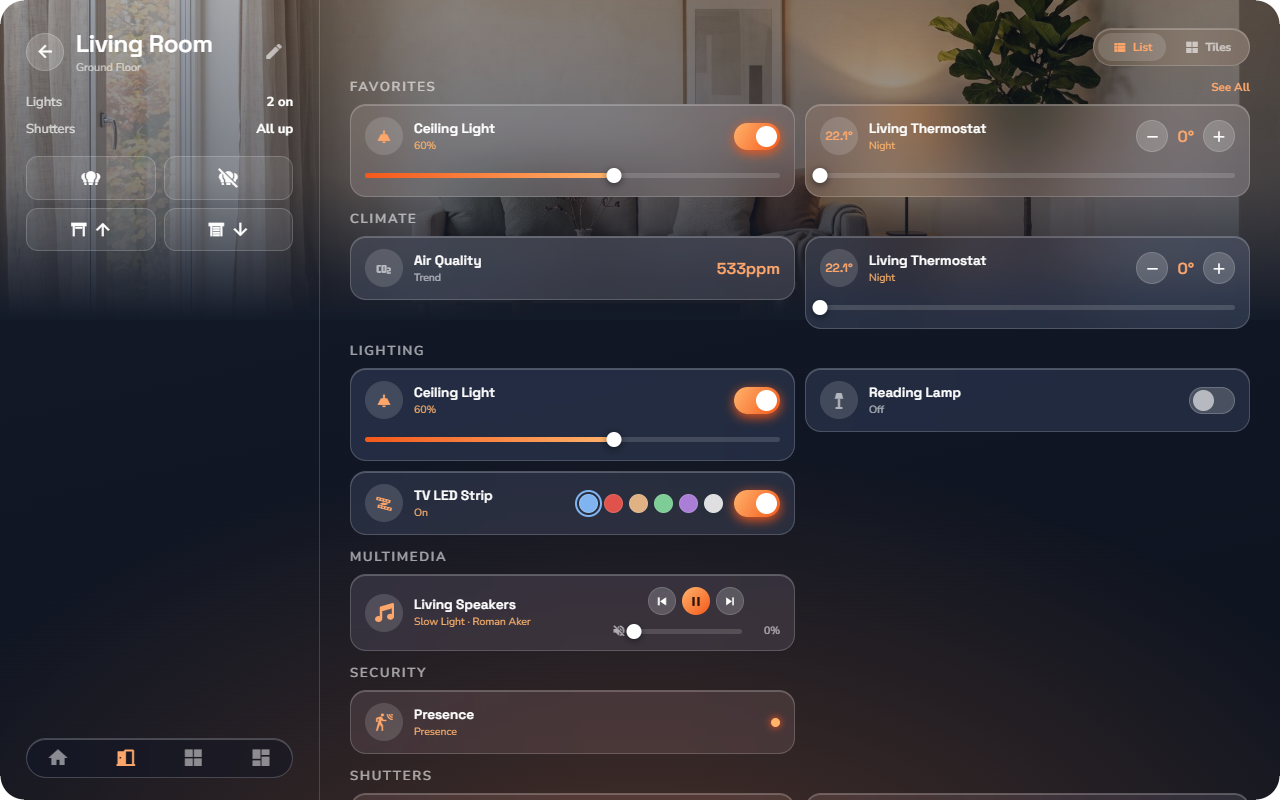
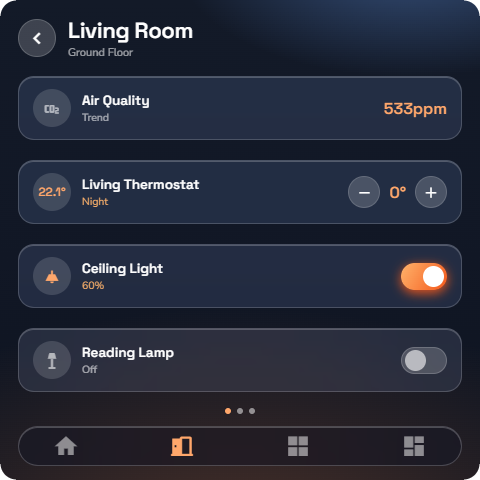
Devices appear as rows (list mode) or tiles (grid mode). Both show the same things: the device's icon, its name, and its live value or state. Rows suit long lists; tiles suit a wall panel or a quick glance. Switch between them per page with the List / Tiles toggle, or for all pages at once in Settings → Page style (see “App Settings & Personalization”).
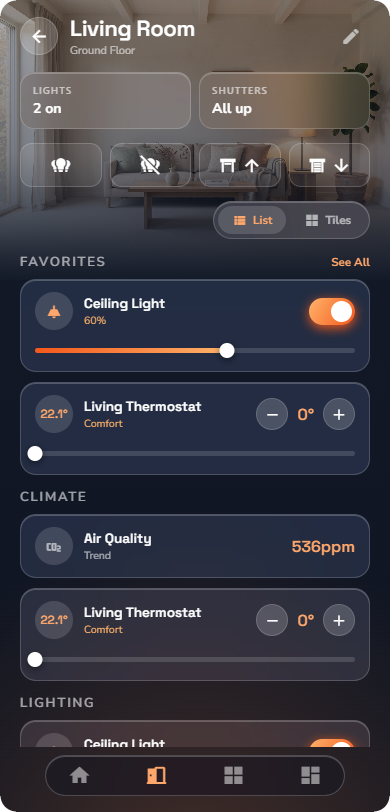
The two gestures
| Gesture | What it does |
|---|---|
| Tap | Acts: toggles the light, opens the device's detail page, runs the scene. |
| Long-press | Pins the device as a favourite, or unpins it (see “App Settings & Personalization”). |
📘 Note: You can control every device you can see. Which rooms and categories you see depends on your account: the administrator sets it with your access level and, optionally, a list of allowed rooms and categories (see “Users & Access Levels”).
Live values and instant feedback
Widget values are live — when someone flips a wall switch, the app updates within a moment. When you tap a control, the widget responds instantly rather than waiting for the round trip, and the confirmed state from the installation follows right behind. If a device does not respond (its connection is down, for example), the value simply stays at the last state the server knows — see “Troubleshooting: Connection & Sign-In” if a device never reacts.
Detail pages
Simple devices do everything in the row — a light toggles on tap. Richer devices open a detail page with their full controls:
| Device | Detail page offers |
|---|---|
| Shutter / blind | Up / stop / down, position slider, slat tilt (see “Shutters & Blinds”) |
| Thermostat | Modes, setpoint dial, Boost (see “Thermostats, Air Conditioning & Ventilation”) |
| Air conditioning | On/off, Heat/Cool/Auto, setpoint (see “Thermostats, Air Conditioning & Ventilation”) |
| Ventilation | Speeds, automatic mode, Boost (see “Thermostats, Air Conditioning & Ventilation”) |
| Dimmer | Level slider and presets (see “Lights & Dimmers”) |
| RGB dimmer | Colour wheel, favourite colours (see “Lights & Dimmers”) |
| Tunable white | Brightness + colour temperature (see “Lights & Dimmers”) |
| Audio zone | Volume, transport, source (see “Audio Zones”) |
| Meter | Readings, period tabs, charts (see “Energy Meters & EV Charger”) |
| EV charger | Start/stop, charging current (see “Energy Meters & EV Charger”) |
| Camera | Full-screen live stream (see “Alarms, Locks & Cameras”) |
| Trending value | Trend chart with min/avg/max (see “Measurements & Displays”) |
The complete widget-by-widget guide is “Widget Types Overview”.